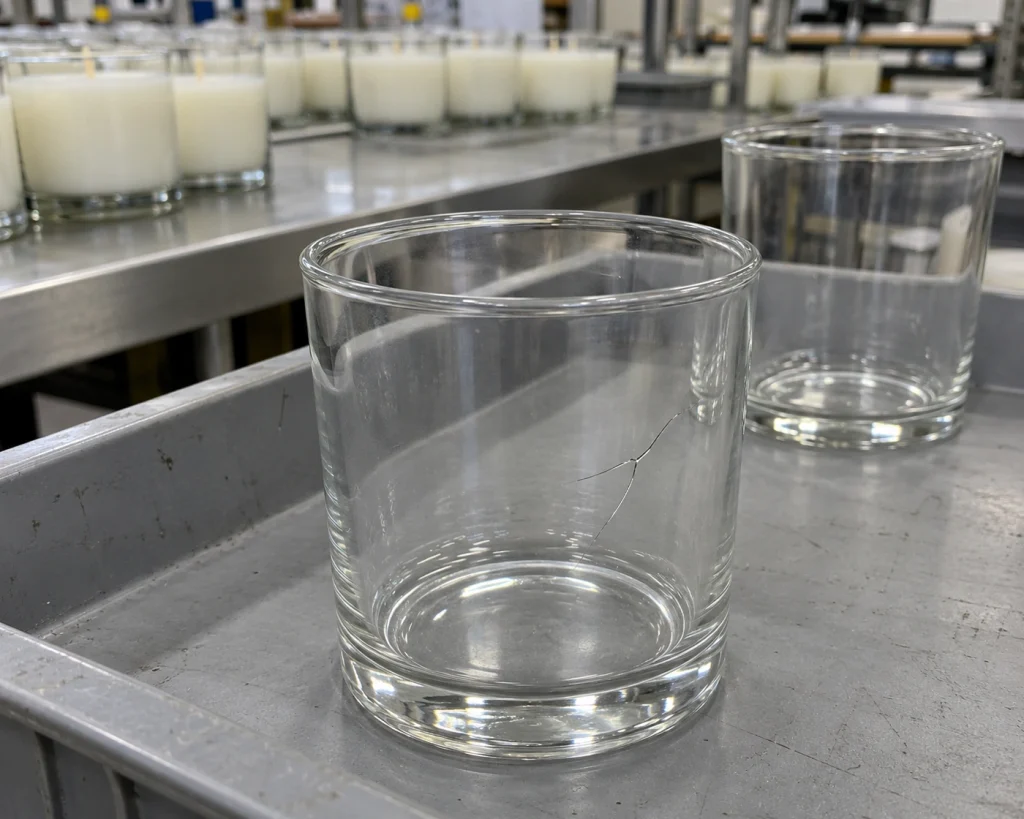
When a glass candle jar cracks, start with the product, the timeline and the conditions around the failure. A useful investigation links the damaged jar to its batch and the records relevant to when the damage was first noticed, including packing, filling and cooling conditions, and burn history where applicable. This helps the glass supplier and candle maker decide what to check next.
The stage when a crack becomes visible is a starting point. A crack noticed during cooling, for example, may involve the jar’s earlier condition as well as the temperature changes during filling and cooling. Stop using damaged jars, and investigate with records and suitable undamaged samples rather than reheating or relighting the failed product.
1. Start with the Glass, Batch and Timeline
Confirm the item number, dimensions, finish and glass type. Soda-lime and borosilicate glass have different thermal properties, so the review needs the actual material and vessel design. A pouring process or test criterion used for one glass design should be checked before being transferred to another.
Link the affected jars to the order, production batch and carton markings wherever possible. Record how many units were found damaged and how many were inspected. Keep separate counts for arrival damage, filling failures and later discoveries so that different events are not combined into a misleading failure rate.
Build a short timeline: receipt, unpacking, storage, any cleaning or preheating, filling, cooling and use. Note the earliest evidence of damage and who observed it. If temperatures or times were not recorded, identify them as unknown or recalled estimates. That distinction helps the technical team judge how much weight to give each detail.
2. If Damage Is Found on Arrival, Record the Packing and Unloading Condition
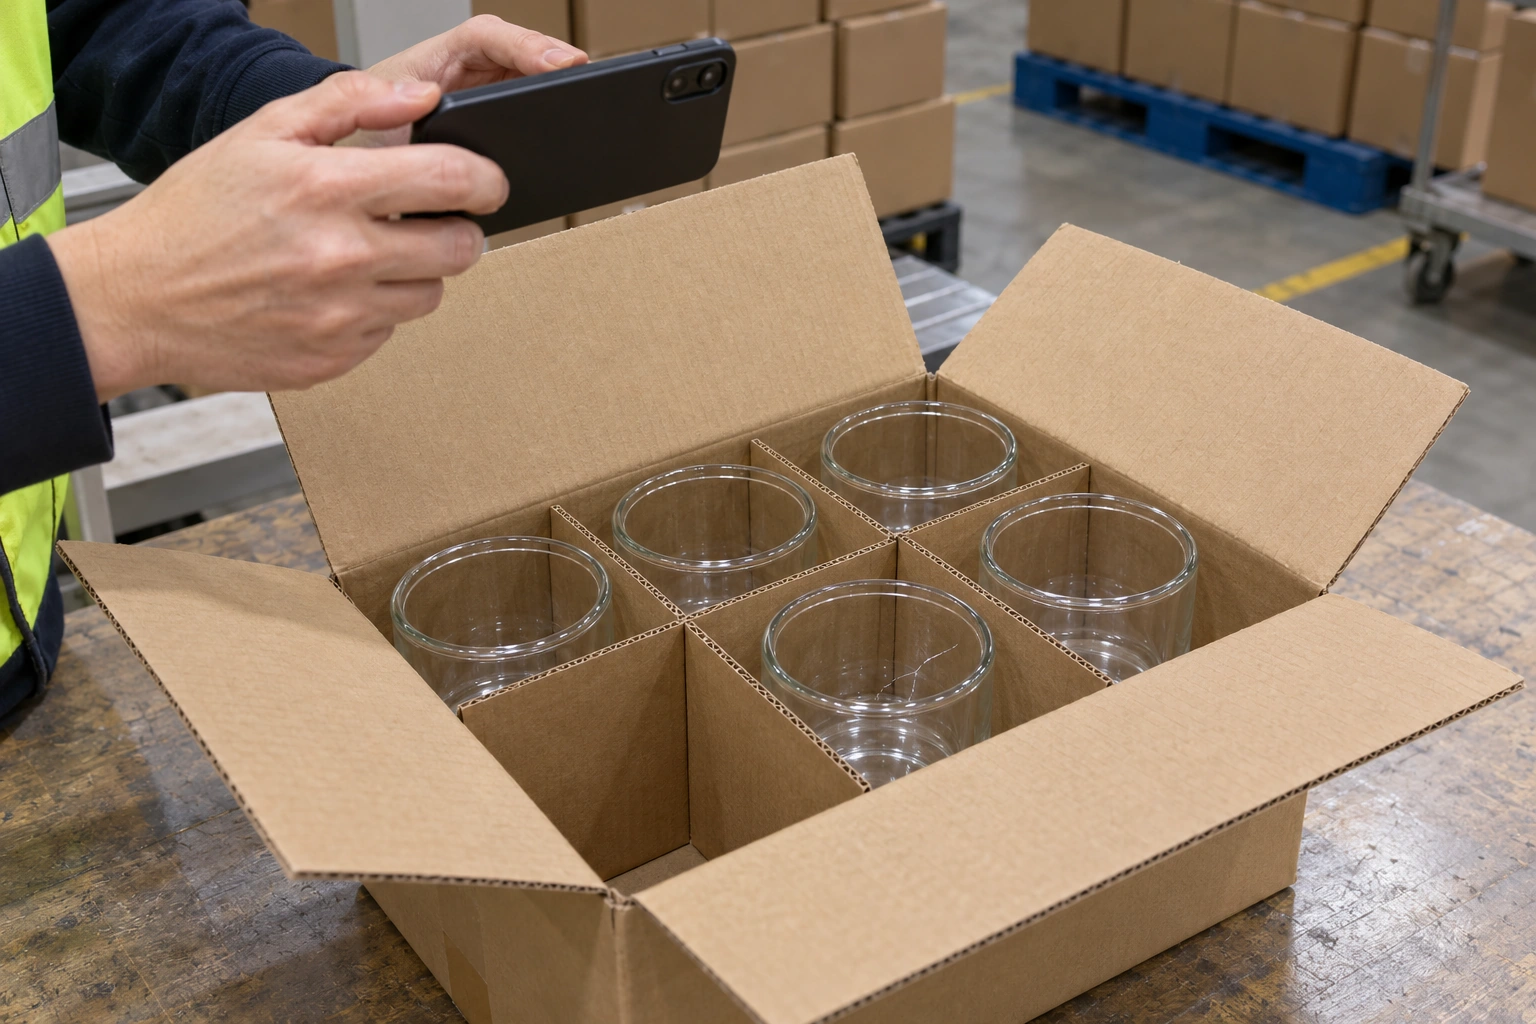
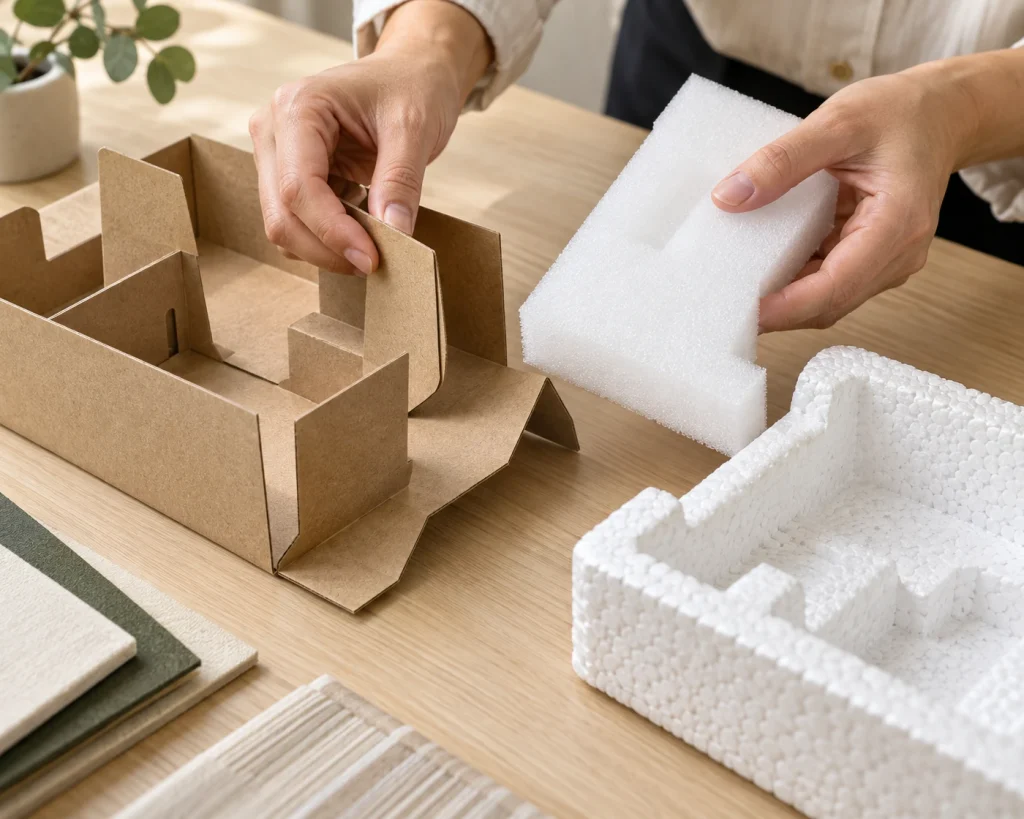
For arrival damage, collect photographs of the shipment as it was received: unloading or container-opening views where available, pallet and carton condition, internal packing, and the damaged jars. Include both an overall view and close-ups that show the damage location and the relevant carton or batch markings.
Look for patterns across the shipment. Are damaged jars concentrated in crushed cartons, particular pallet positions or locations where dividers have moved? Are there signs of glass-to-glass contact? These observations help direct the review toward packing protection, handling conditions or the condition of the jars before shipment.
Compare the receiving evidence with available packing photographs and outgoing inspection records. Packaging may need improvement, but damage found at unpacking does not by itself establish when it occurred or who is responsible. Agree how relevant packing and failed items can be retained safely before they are discarded or returned.
3. If Cracks Appear During Filling or Cooling, Compare the Jar and the Process
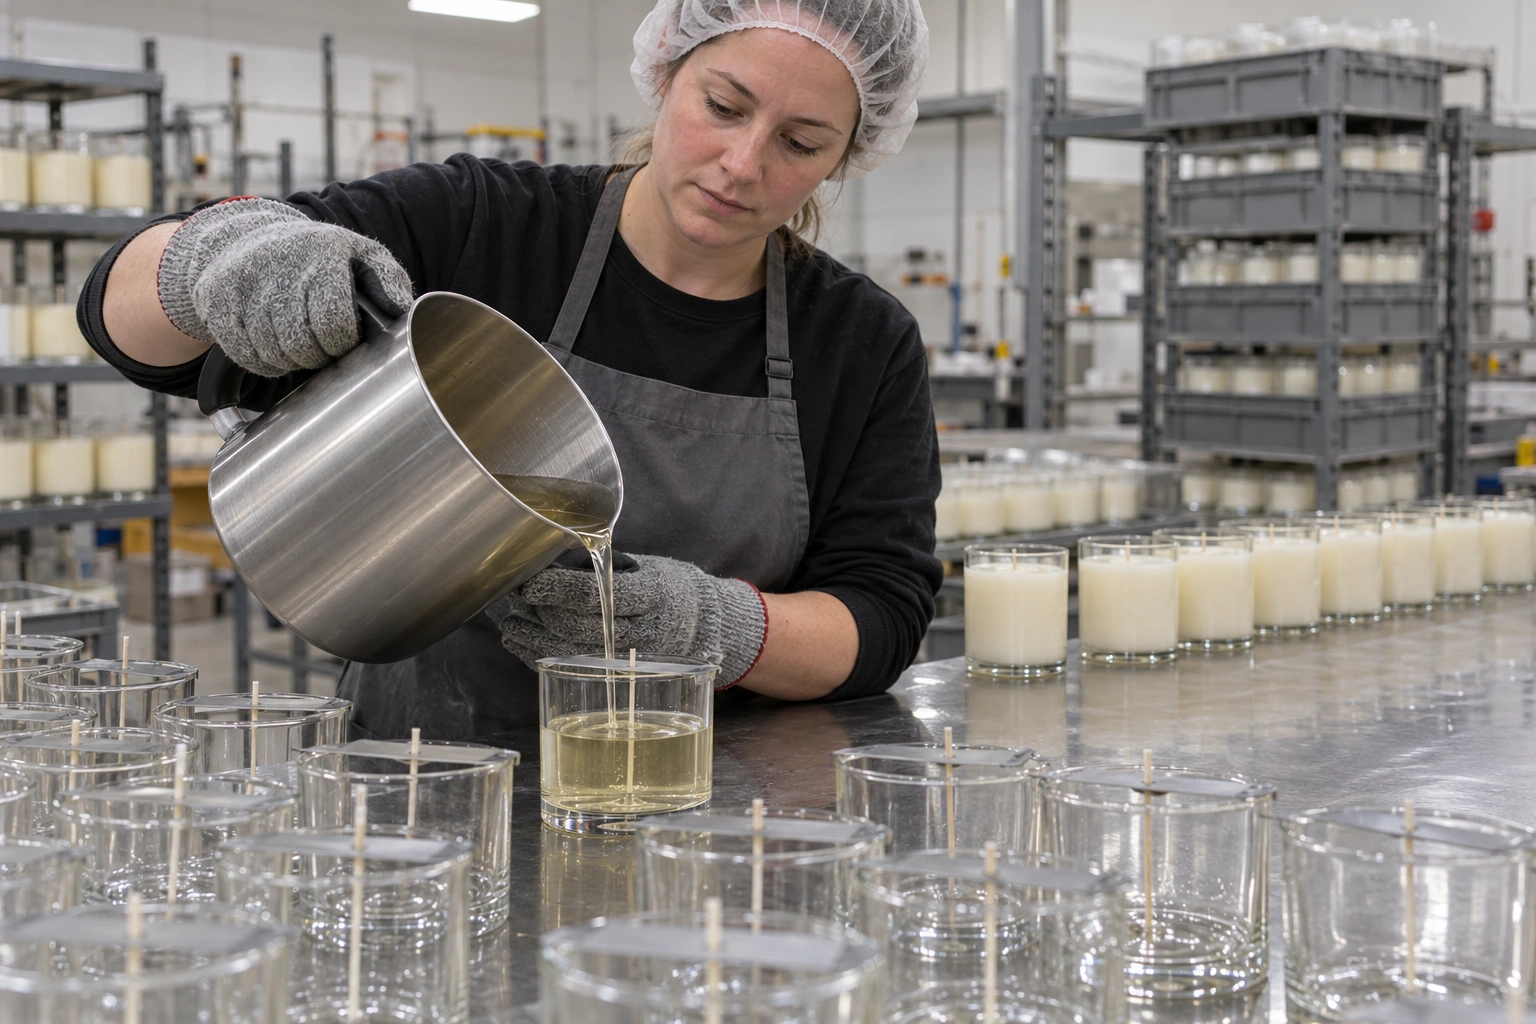
Green-Life’s customer discussions highlight the need to examine the supplied jar and the filling process together. Treat these as two connected lines of investigation, especially when cracks are first noticed after pouring.
Check the condition of the glass
Review any evidence of earlier rim chips, scratches, knocks or fine cracks. Damage sustained before filling may only become apparent later. Photograph the crack’s position relative to the base, sidewall and any noticeable thickness transition. A specialist may be able to assess a possible fracture origin from the retained item; photographs are useful for initial review but may not show enough detail.
Ask the supplier for annealing-quality inspection results relevant to the production batch, such as polariscopic test reports, together with dimensional drawings and actual measurements. Annealing is controlled cooling during glass manufacture that reduces residual manufacturing stress. Inadequate annealing is one possible concern to investigate. Uneven base thickness or abrupt changes in wall or base thickness also deserve review: these features affect how the vessel heats and cools and can influence local thermal stress. Assess the measured thickness profile against the design and operating conditions to determine whether it contributes to the problem.[1]
Check what happened during pouring and cooling
Record the empty-jar temperature, wax temperature at pouring, fill quantity and pouring method, including where the wax stream meets the vessel. Also note the cooling surface, spacing, airflow and any movement to a different environment. A cold jar receiving hot wax, or rapid and uneven cooling afterward, can create temperature differences within the glass and associated thermal stress.
Check whether the jars were brought to the temperature specified by the validated filling process, including any required preheating. Use the wax supplier’s processing guidance alongside the container supplier’s requirements to review the actual combination. There is no single preheating or pouring temperature that can be assigned to every soda-lime or borosilicate candle jar.
Compare the timing and location of failures. Do they cluster around one filling period, workstation, cooling area or glass batch? Did anything change during that period? This can help select a useful comparison trial. For example, the filling team might compare undamaged samples from different glass batches under the same documented process, or assess an agreed process change using samples from one batch.
4. If a Jar Breaks While Burning, Review the Complete Candle
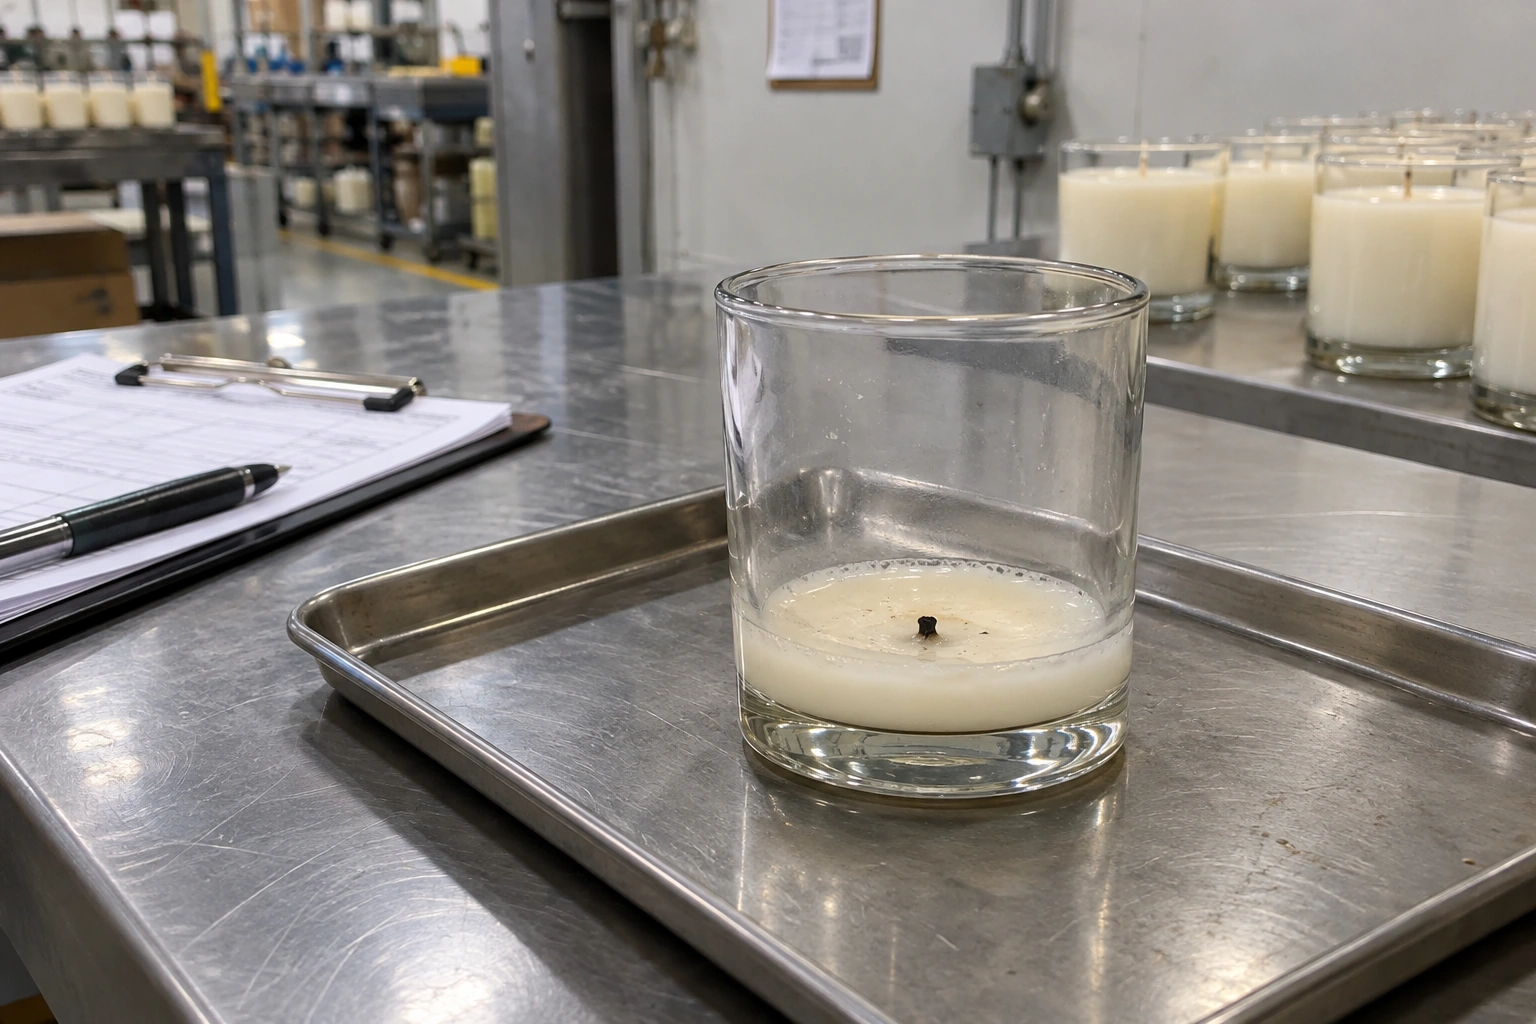
For a burning failure, collect the candle’s formulation and wick configuration as well as the jar details. Record the wax, fragrance loading, wick series and size, number of wicks, and their position and attachment. An oversized wick can produce excessive heat; a wick that sits or moves close to the wall is also an important condition to investigate.[2]
Ask about the burn history: the number and duration of previous burns, remaining wax, wick trimming, and any unusual flame, soot or wick movement observed before the break. Include the supporting surface, nearby heat sources, drafts and any sudden contact with a colder environment or liquid. Distinguish observations made before the failure from the appearance of the candle afterward.
Pay particular attention to failures near the end of the candle’s life. When little wax remains, continued burning close to the base can overheat the lower part of the vessel. Review the design and attachment of the wick sustainer, the metal fitting that holds the wick at the base, together with the candle’s end-of-life burn-test results.[2]
Review these details against existing tests of the same candle combination. Container documentation and finished-candle testing answer different questions. The review should consider how the jar, wick, formulation and use conditions worked together, while also checking whether earlier glass damage may have contributed.
5. Use Tests and Controlled Comparisons to Check the Suspected Cause
Choose the next check according to the question raised by the evidence. The following information provides a practical starting point for the supplier and filling team.
| When damage is first noticed | Priority evidence | Useful next review |
|---|---|---|
| On arrival or unpacking | Shipment and packing photographs, damage locations, carton markings | Compare receiving condition with packing and outgoing records |
| During pouring | Jar and wax temperatures, pouring method, earlier jar condition, batch details | Review the container and filling conditions together |
| During cooling | Time after filling, cooling surface and environment, failure distribution | Compare glass batches and documented process conditions |
| During burning | Wick configuration, formulation, burn history, remaining wax and surroundings | Review the actual candle combination and relevant burn tests |
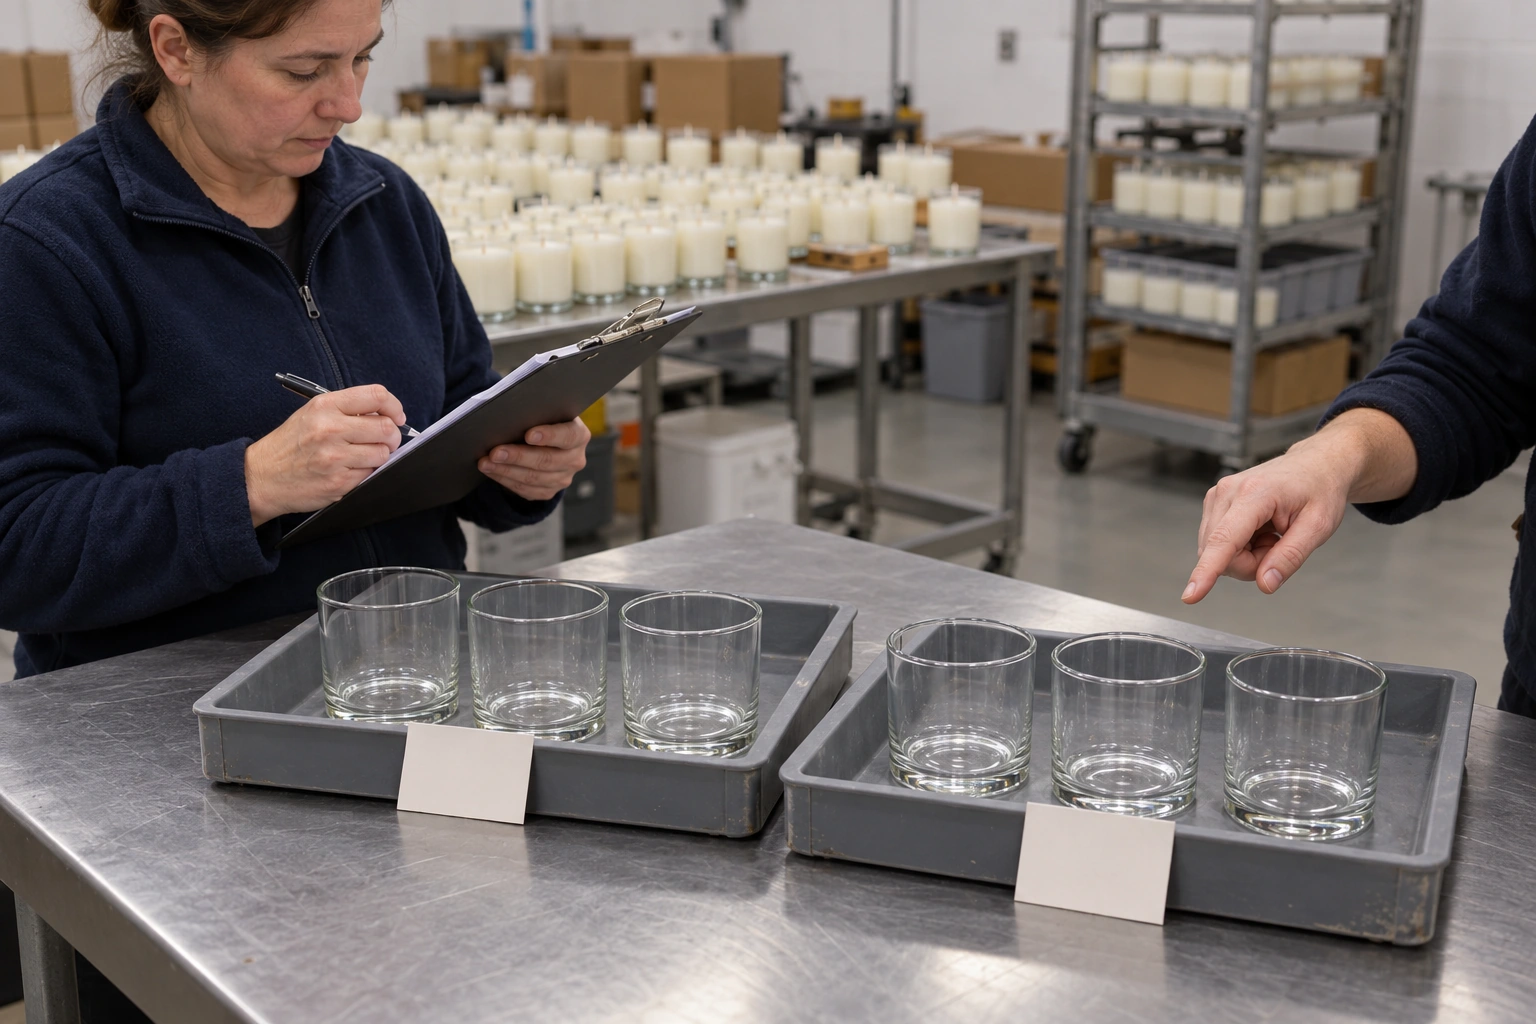
Polariscopic examination uses polarized light to help assess residual manufacturing stress associated with annealing.[1] Thermal-shock testing evaluates resistance to specified sudden temperature changes. It should use suitable undamaged samples under an agreed test plan, which may assess survival at a specified temperature difference or involve progressive testing to breakage.[3] These checks serve different purposes, and the test provider should confirm the method and interpretation for the actual glass. Test samples should be kept separate from saleable stock, with their subsequent handling agreed as part of the test plan. Neither result alone reconstructs the history of a failed jar.
Where a controlled filling trial is needed, use suitable undamaged samples, record what stays the same and what changes, and agree on observation and acceptance criteria beforehand. The work should be arranged by personnel equipped to conduct it safely. Specialist or third-party analysis may be appropriate when the suspected cause remains unclear or fracture examination is needed.
Bring the container supplier’s findings and the filling team’s records into one report. State what was observed, which explanation the evidence supports, what remains unresolved, and what must be verified before affected stock is released or a proposed change is approved. This gives buyers a clear basis for the next decision, even when the available evidence cannot establish a single root cause.
Sources
[1] ASTM C148-17(2022): Polariscopic Examination of Glass Containers (commercial soda-lime-silica glass scope). https://store.astm.org/c0148-17r22.html. Accessed 27 October 2026. ↩ ↩
[2] British Candlemakers Federation and Cornwall Council: Candlemakers Advice Pack (January 2024), p. 4. https://www.britishcandles.org/documents/www.britishcandles.org/Advice_Sheet_2024/candlesadvicepack(2024).pdf#page=4. Accessed 27 October 2026. ↩ ↩
[3] ASTM C149-14(2020): Thermal Shock Resistance of Glass Containers. https://store.astm.org/c0149-14r20.html. Accessed 27 October 2026. ↩