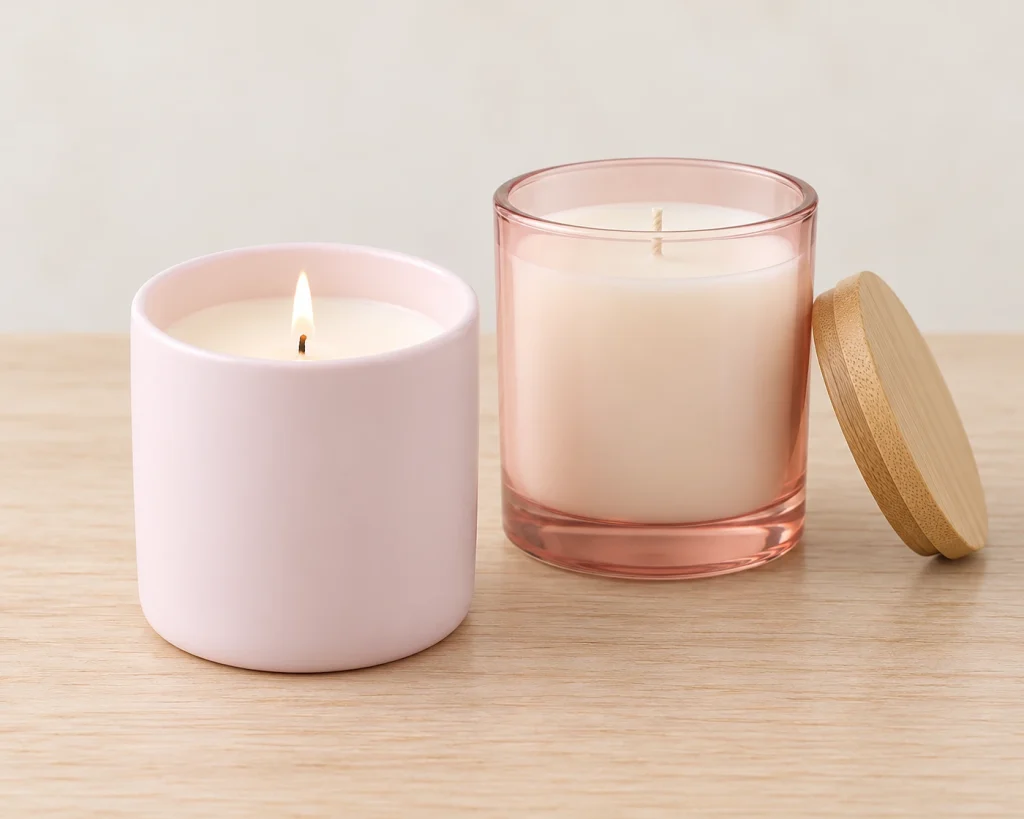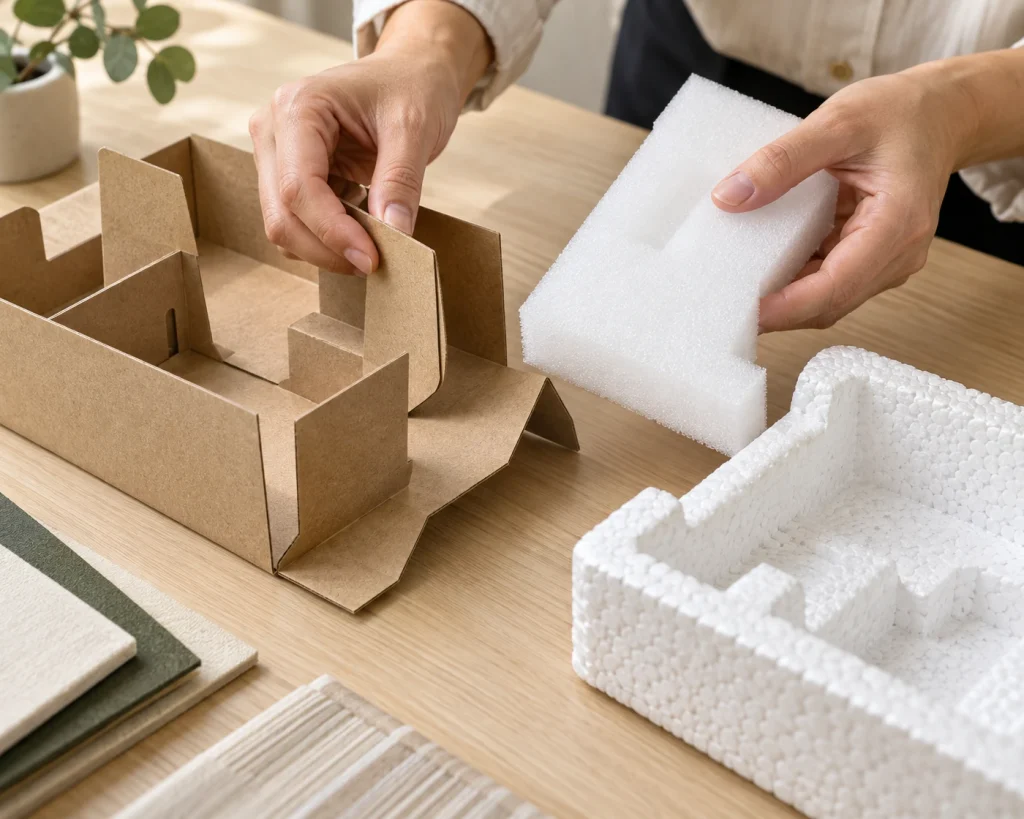
Glass thickness matters when choosing a candle jar, but the right thickness depends on the glass, the vessel design and the candle it will hold. Start by identifying the material, then compare the actual sidewall measurements and confirm how the vessel will be assessed for filling and burning.
For buyers, the useful question is: what thickness suits this design and the intended candle? A heavier feel, resistance to handling damage and performance during heating are different considerations, even when they all influence the same purchasing decision.
Identify the Glass Before Comparing Thickness
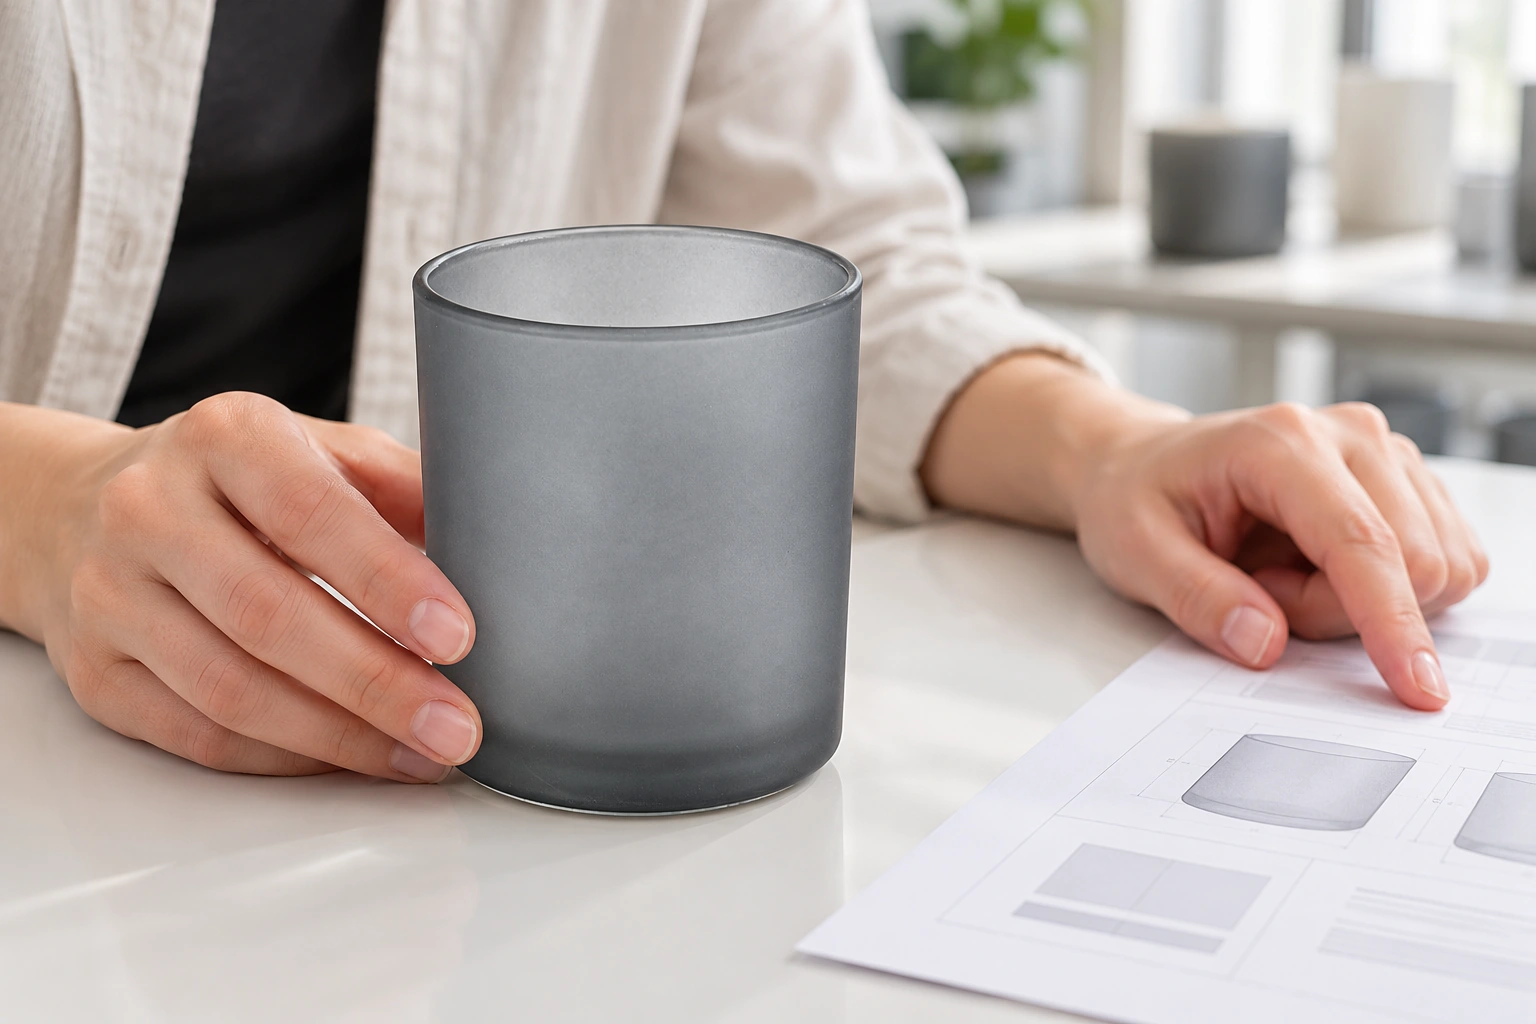
Borosilicate and soda-lime glass candle jars often have quite different wall thicknesses. Comparing their measurements without identifying the material can make a normal design difference look like a quality problem.
In the glass candle jars Green-Life commonly handles, borosilicate sidewalls are often around 1.2–1.6 mm, and designs above 3.2 mm are relatively uncommon. Soda-lime sidewalls are commonly over 2.5 mm, with the thicker designs generally reaching around 4 mm. These figures describe the products encountered in Green-Life’s work; the specification for an individual jar still needs to follow its own design and validation.
Borosilicate glass expands less as its temperature rises than ordinary soda-lime glass. This helps explain its resistance to temperature changes, but the material name alone does not establish how a finished jar will perform. Shape, thickness distribution, manufacturing quality and the conditions of heating and cooling also matter.[1]
Ask the supplier to identify the glass material on the drawing or specification. Then check whether the quoted thickness refers to the sidewall, rim or base. A photograph showing a substantial rim or a heavy base tells you little about the rest of the wall.
Decide What a Thicker Wall Is Meant to Achieve
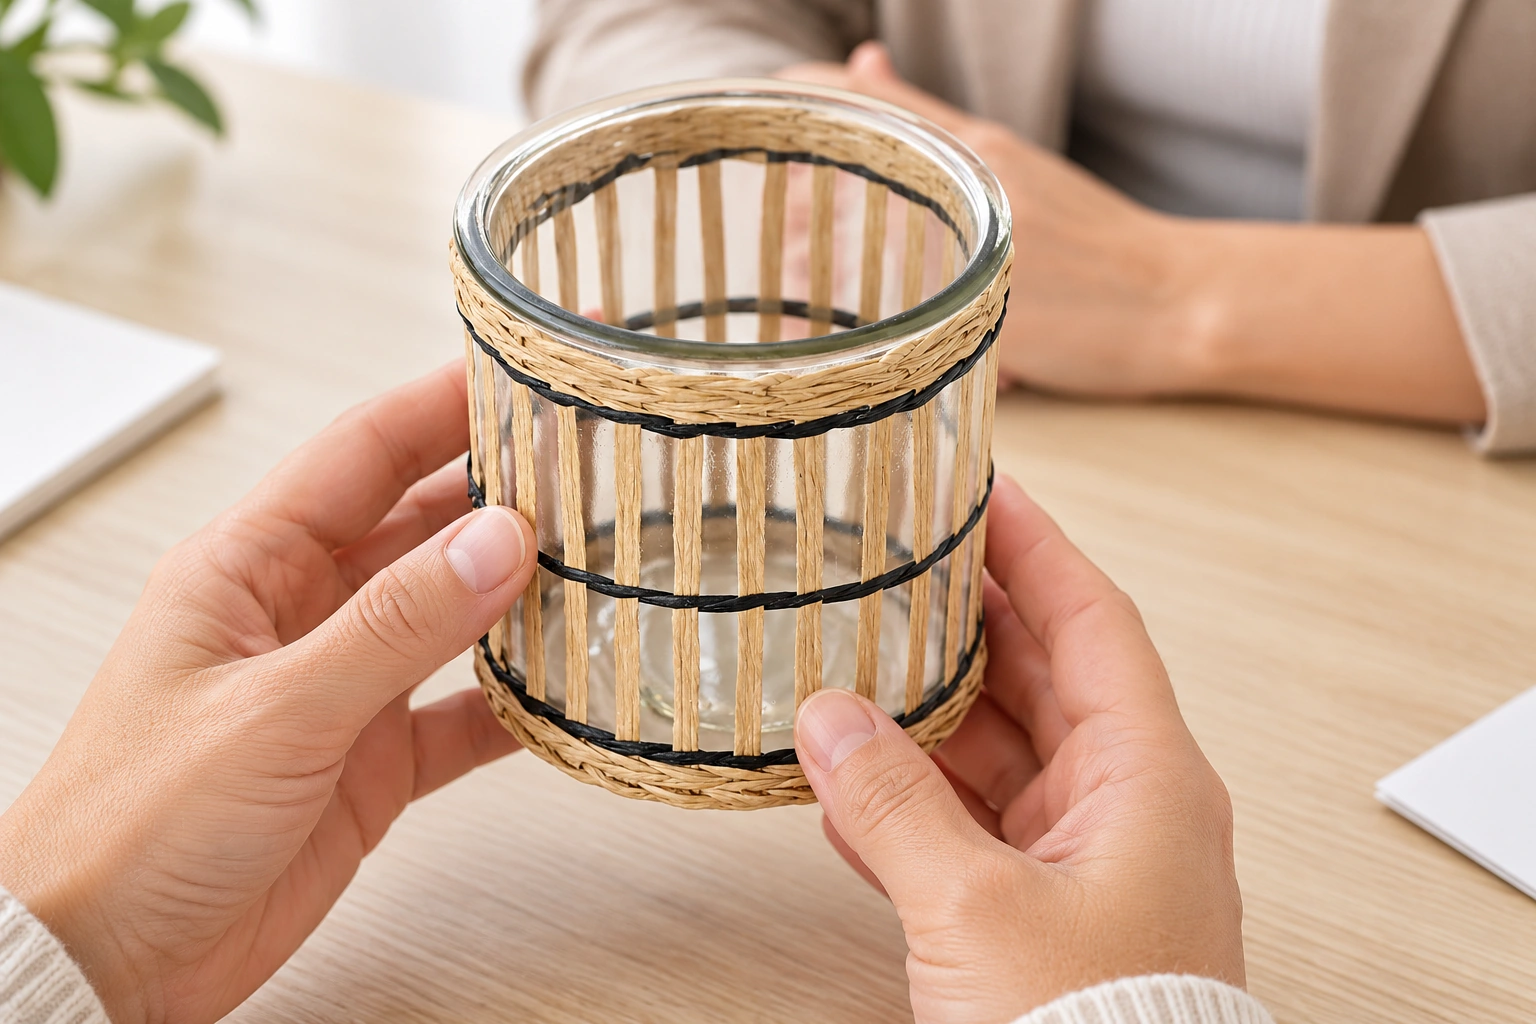
In Green-Life’s experience, customers requesting thicker glass are often looking for a more substantial feel and a presentation that suits a higher-priced collection. That is a useful design requirement: it gives the supplier a clearer starting point than a general request for “better quality.”
The change still needs to stay within a reasonable range for the selected design. Borosilicate walls that are too thin can be more vulnerable to breakage during handling and transport. At the other end, excessive thickness can impair thermal-shock performance—the ability to withstand sudden temperature changes. Temperature differences can develop within the glass during heating or cooling; the resulting stress depends on the vessel’s geometry and the rate and extent of the temperature change.[1]
This is a balance between an overly delicate wall and excessive thickness. It does not mean that a normal increase in thickness automatically creates a thermal-shock problem.
Before requesting a change, explain what you want to improve. If the issue is hand feel, compare physical samples. If it is breakage during delivery, review the actual jar and its packaging together. If it concerns performance while burning, assess the filled candle. Each question calls for different evidence.
Also check what the revised design changes. A thicker wall may affect internal space, weight and packaging fit. If the outer dimensions remain unchanged, thicker walls reduce the available internal space. Confirm the intended fill quantity and packaging fit on the revised sample.
Measure the Sidewall, Not Just the Rim
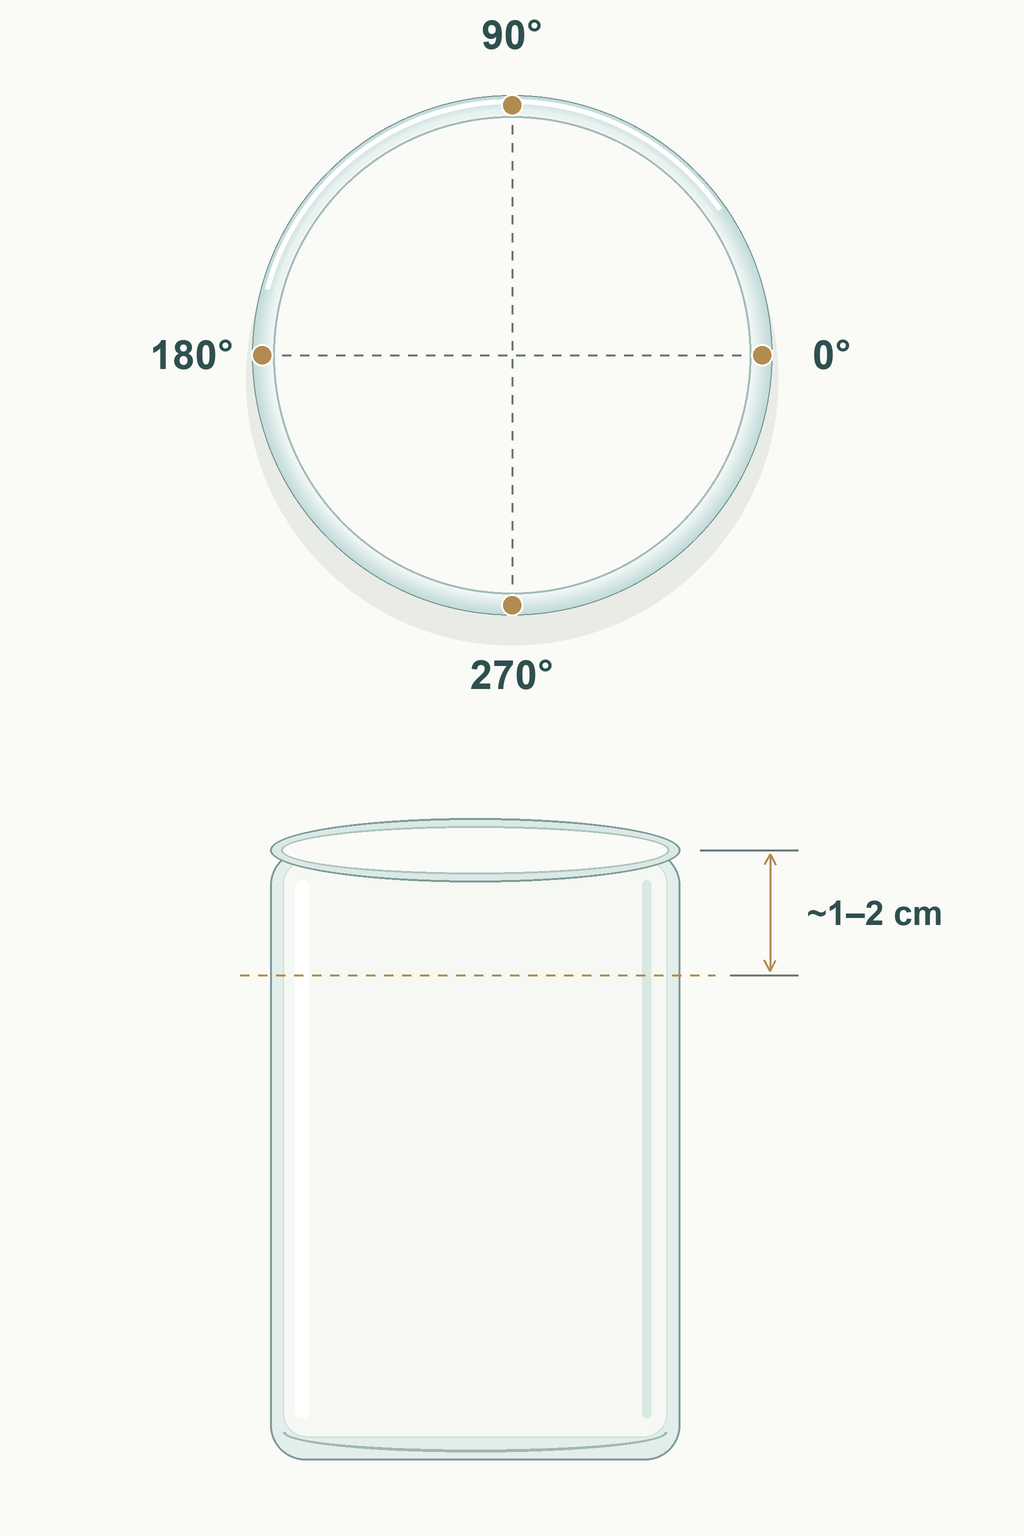
A rounded rim, a thick base or a corner can give an exaggerated impression of sidewall thickness. These areas should be considered separately when comparing a sample with the supplier’s drawing.
Green-Life normally checks the actual sample against the dimensions and data supplied by the manufacturer. For sidewall measurements, its usual approach is to measure approximately 1–2 cm below the rim or bend, in a section that represents the main wall. The usual four measurement points are spaced 90° apart around the circumference at the same horizontal level: 0°, 90°, 180° and 270°. Their average is compared with the supplier’s data.
The measurement location needs to suit the shape. On a short, curved or heavily shaped jar, agree with the supplier where a representative sidewall measurement can be taken. Record that location so the sample and later production can be compared on the same basis.
Keep the individual readings, including the minimum and maximum, alongside the average. The average helps compare samples; the minimum and maximum show the spread of thickness at the measured level. Compare these readings with the agreed tolerances to identify differences that need clarification with the supplier.
| What to record | Why it helps |
|---|---|
| Glass material and drawing version | Identifies the product being compared |
| Measurement height and reference position for 0° | Makes repeated measurements comparable |
| Four sidewall readings, minimum, maximum and average | Shows both the typical thickness and variation at the measured level |
| Rim, base and corner dimensions where relevant | Keeps these features separate from the main sidewall |
| Agreed dimensions and tolerances | Provides the basis for accepting or querying a difference |
A sample that differs from the drawing needs clarification before approval. Confirm whether the sample or the drawing represents the intended production version, and resolve the difference with the supplier.
Validate the Vessel and the Filled Candle
Thickness measurements help establish what has been made. Validation then assesses whether the specified vessel and candle combination meets the agreed requirements under defined test conditions.
Check the glass container
Ask how the manufacturer verifies relevant glass quality, including annealing and thermal-shock performance. Annealing is controlled cooling that reduces stress left in the glass after manufacture. Ordinary visual inspection does not measure that internal stress.[2]
Where thermal-shock testing is required, agree on the method, conditions and acceptance criteria for the actual glass and vessel. Check that the supporting records refer to the product being supplied. A thickness reading or an attractive sample cannot substitute for those results.
Assess the actual candle combination
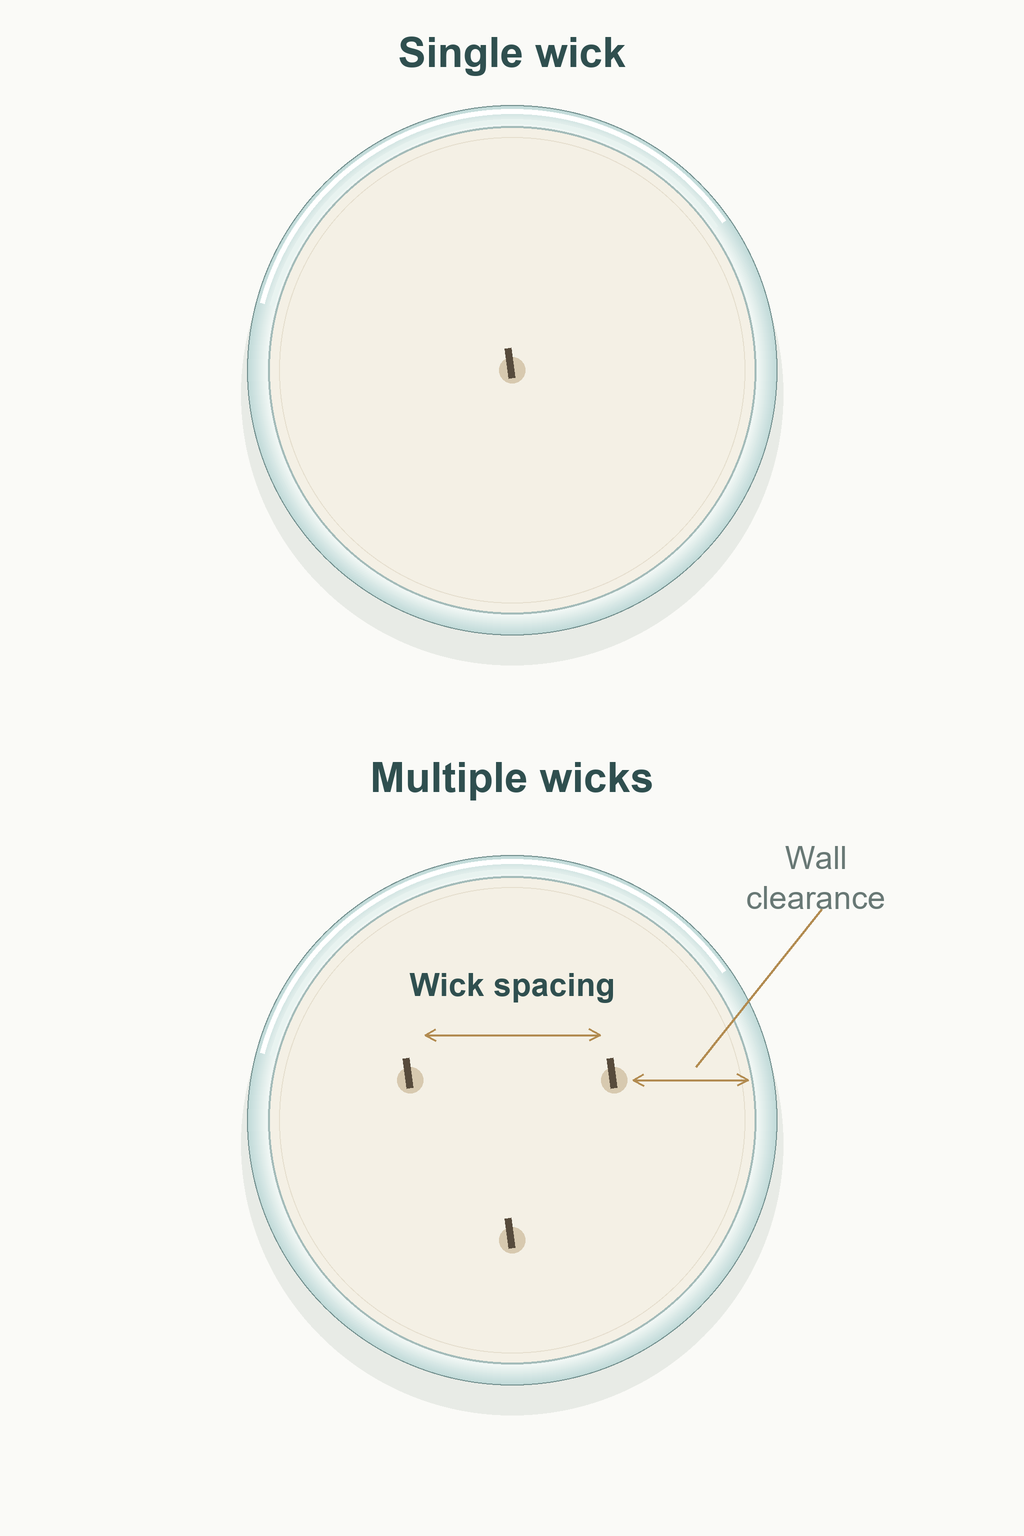
The vessel’s dimensions and shape, wax and fragrance formulation, wick configuration and fill quantity need to work together. Wall thickness cannot provide a shortcut for choosing the wick or deciding whether the candle will overheat.
A single central wick and several spaced wicks heat the jar differently. Multi-wick designs distribute flames across a wider area; their effect depends on each wick’s type and size as well as the number used. Two wicks do not necessarily produce twice the heat of one, but changing the configuration changes the conditions the glass must withstand.
Match the layout to the jar’s internal width and shape. A wider vessel may need several smaller wicks rather than one oversized wick. Check the spacing between wicks and their distance from the wall: flames positioned too close to the glass can concentrate heat locally. In a vessel that narrows towards the base, the clearance also changes as the wax level falls.[3]
During burn validation, assess flame behaviour, the melt pool—the liquid wax around the wicks—heat build-up, surface temperatures and vessel condition throughout the intended burning cycles. Pay attention to local heating near the flames and to later burns as the wax level falls. An even melt pool alone does not establish safe glass temperatures. Agree on the burn cycles, temperature measurement locations, a measurement method suited to the glass surface, and acceptance criteria with the testing party. Assess temperatures by measurement rather than touch.
Record the wick type, size, number and placement with the tested formula and fill quantity. A single-wick result should not be carried over to a multi-wick version; prepare and test the revised combination. Increasing wall thickness is not a substitute for correcting an unsuitable wick layout.
When Green-Life supplies empty vessels, filling and burn tests are usually arranged by the customer or filling manufacturer. Green-Life can also arrange filling when requested and coordinate filling and burn tests with its partner manufacturer. A designated third party may be involved according to the project requirements.
Before production, bring the decisions together in the approved drawing, sample and validation records. Identify the glass material, agreed thickness locations and tolerances, finish, and candle combination assessed. If thickness or another relevant part of the design changes, review which checks need to be repeated so that production follows the version actually approved.
Sources
[1] SCHOTT — TIE-32: Thermal loads on optical glass (October 2018) ↩ ↩
[2] ASTM International — F2179-26, candle-container specification (public scope and abstract) ↩